
When some keys on your desktop keyboard not a laptop keyboard stop working, it can be frustrating. If the circuit of keyboard is okay but conductive path or paths are broken, that can be repaired with silver conductive paint which is cost-effective and reliable solution. This special type of paint is designed to restore electrical conductivity in keyboard keys connectivity paths, making it ideal for keyboard repairs, especially when you’re dealing with broken paths.
In this article, I’ll explore how silver conductive paint works, how to use it for keyboard repairs, and some tips to ensure a successful fix.
Table of Contents
What is Silver Conductive Paint?
Silver conductive paint is a type of electrically conductive coating that contains fine silver particles. The paint is often used in electronics repairs because it can carry electrical current, making it perfect for fixing broken circuit paths. The high conductivity of silver ensures that electrical signals can flow seamlessly through the repaired area, restoring functionality to damaged components like keyboard keys paths.
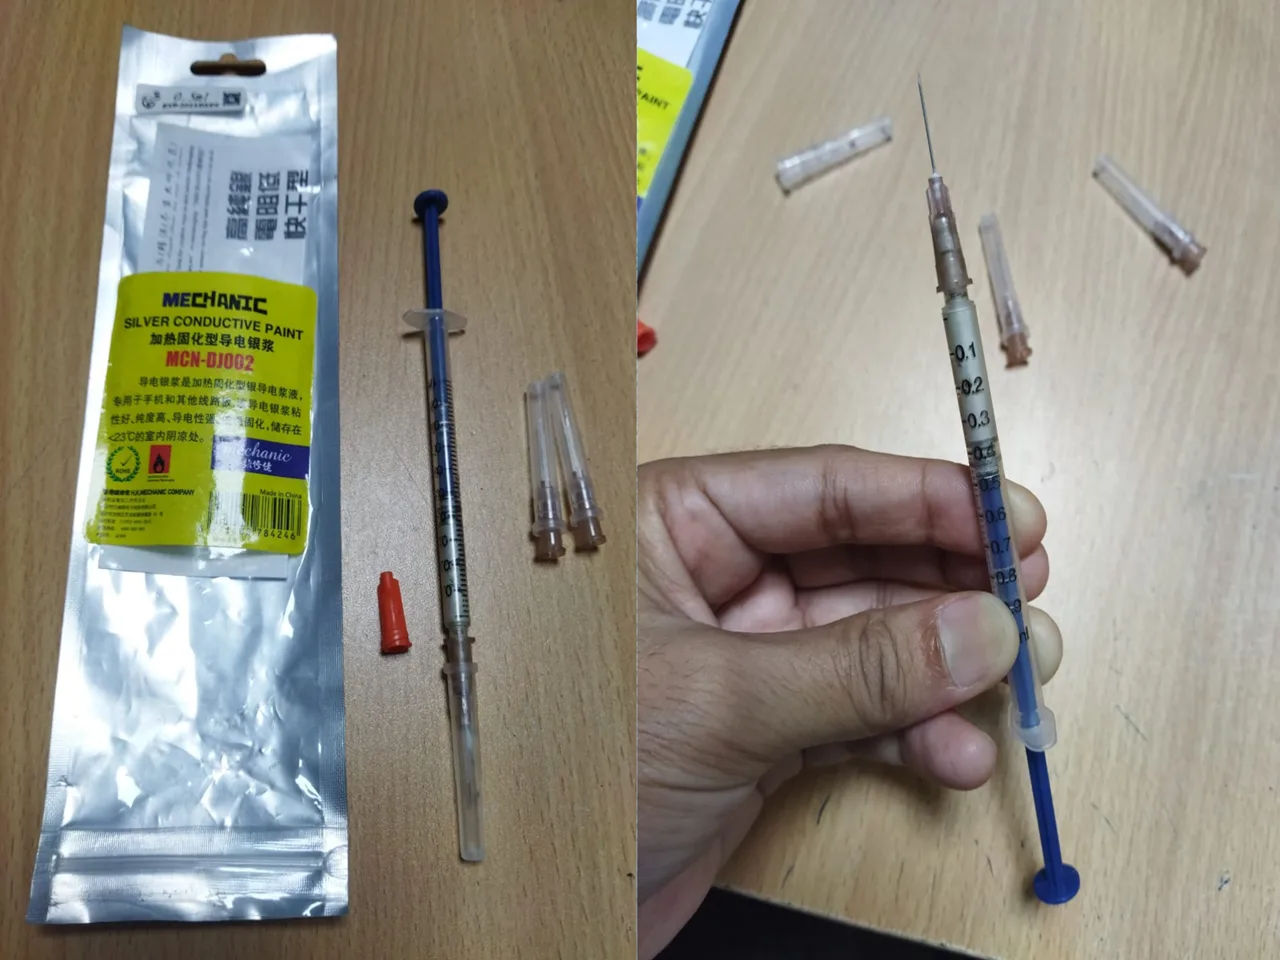
How Can Silver Conductive Paint Fix Keyboard Issues?
In a membrane keyboard, electrical circuits are responsible for sending signals to the computer when you press a key. If any of the circuit traces are damaged or broken, it can cause specific keys to stop working. Silver conductive paint can help reconnect those broken circuits by restoring conductivity in the damaged areas.
Common Keyboard Problems That Can Be Fixed with Silver Conductive Paint:
- Worn out conductive traces: If traces inside the keyboard are damaged, the affected key(s) won’t work.
- Loose or broken circuit paths: When the keyboard membrane has a broken path, silver conductive paint can reconnect it.
- Non-functioning keys: Keys that don’t respond due to damaged internal connections can be repaired.
How to Use Silver Conductive Paint to Repair a Keyboard
Materials Needed:
- Silver conductive paint
- A fine-tipped brush or applicator
- Tweezers (optional for membrane handling)
- A screwdriver (to open the keyboard)
- Multimeter for connectivity testing
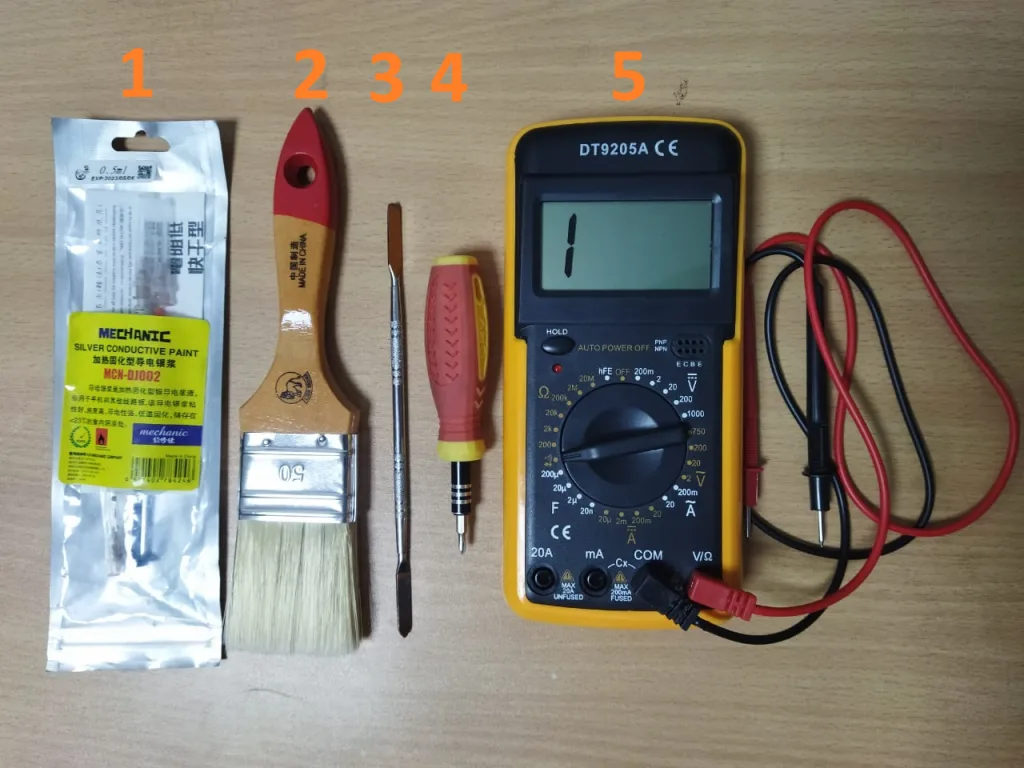
Step-by-Step Process
- Disassemble the keyboard: Unplug the keyboard from your computer. Use a screwdriver to carefully open the keyboard casing. Once opened, locate the membrane or circuit board where the keys are connected.
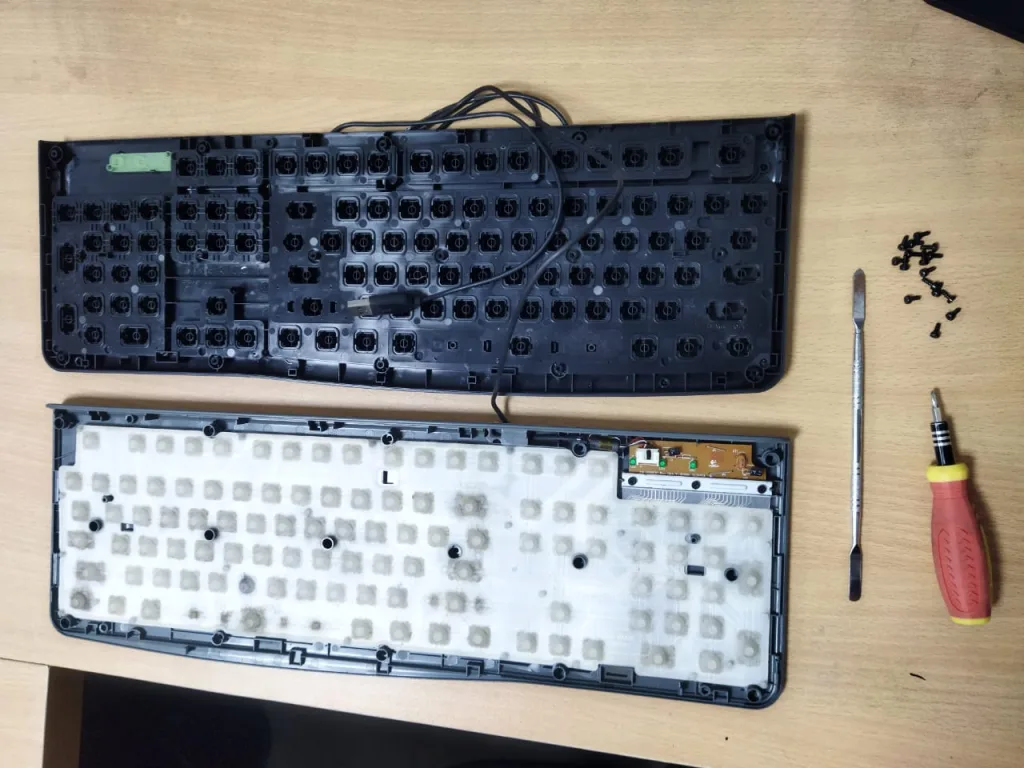
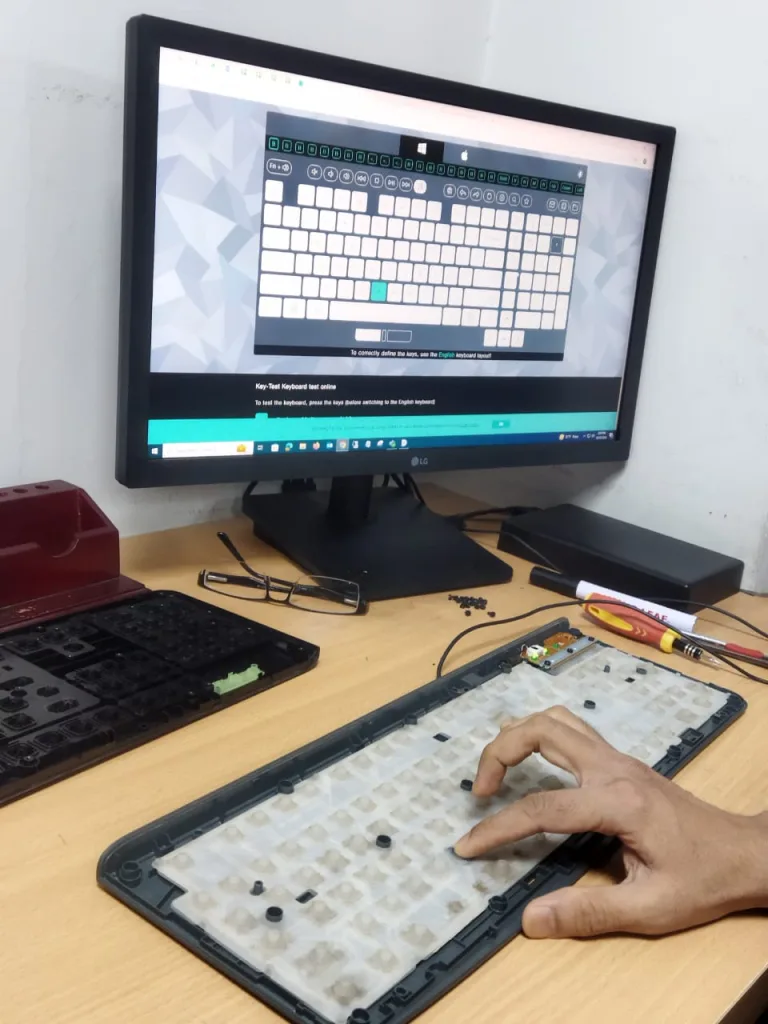
2. Identify the damaged area: Firstly, identify which keys are not working. You can test online for identifying which keys are not working. Follow the link:- Online Keyboard Test. My case B and * not working.
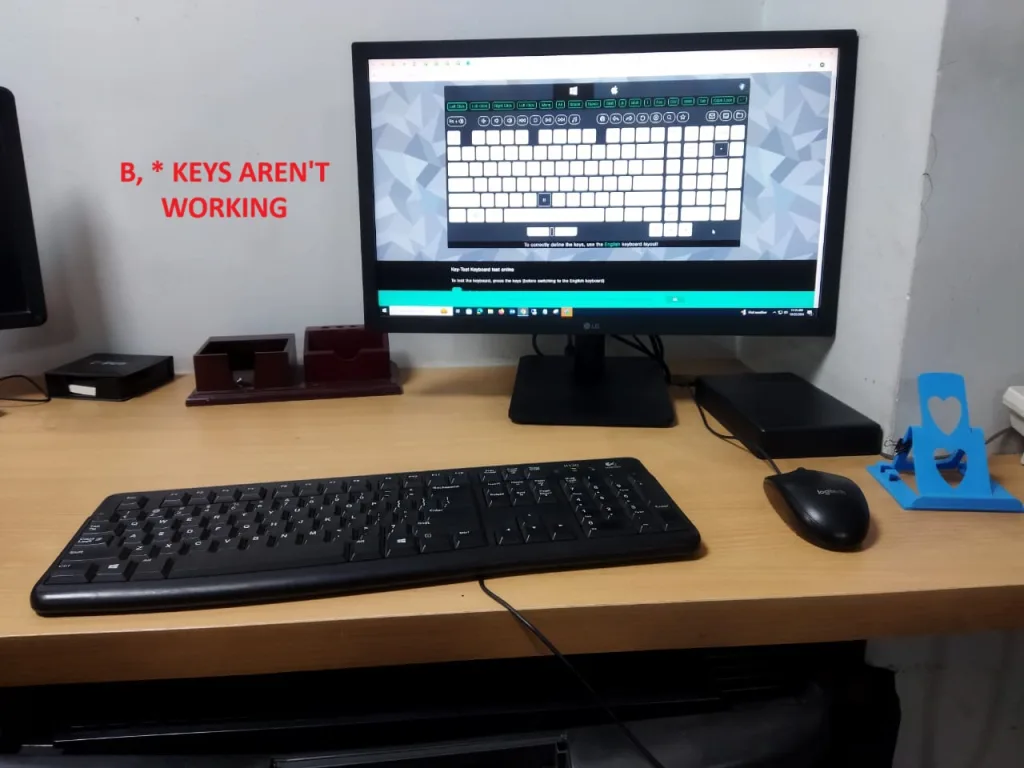
Look for any visible breaks in the circuit paths or worn-out areas on the membrane. A multimeter can help in identifying broken circuits if the damage is not visible.
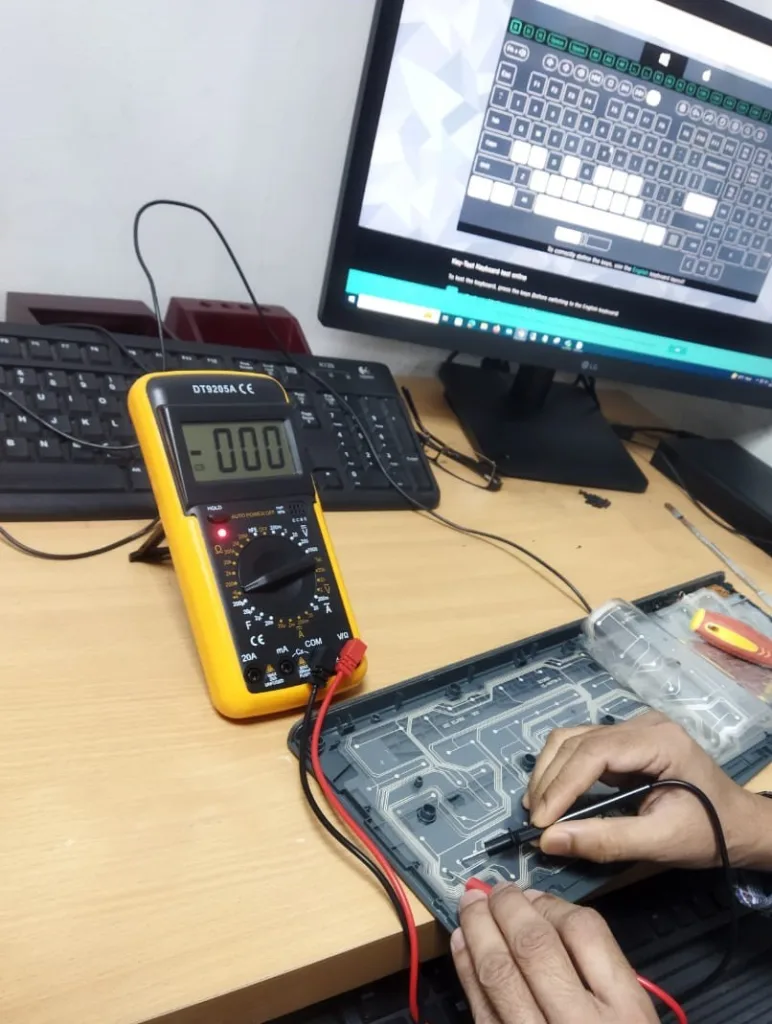
3. Clean the area: Use a cotton swab dipped in rubbing alcohol to gently clean the damaged area. This removes dust, oils, and debris that could interfere with the paint. You can use only a brush for dust cleaning. The three layers of a keyboard plastic pad.
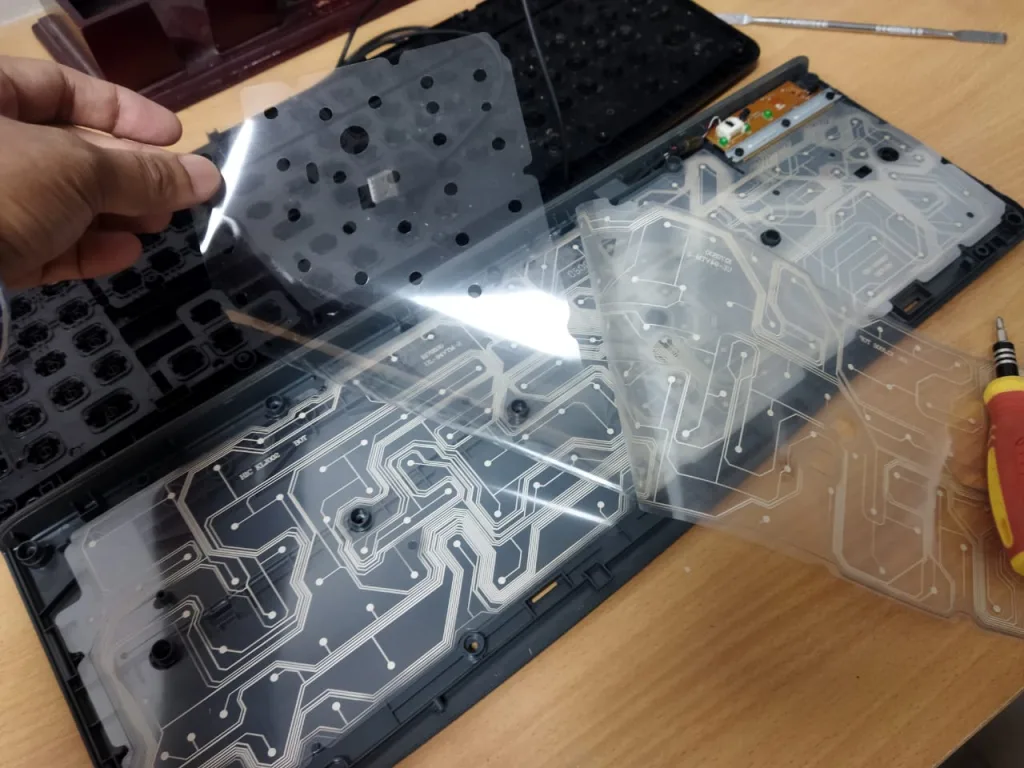
4. Apply the silver conductive paint: Shake the paint well and use a fine-tipped brush or applicator to carefully apply a thin layer over the damaged circuit path. Ensure the paint creates a solid connection between the broken ends of the circuit. You can use only needle for painting the broken path or paths.
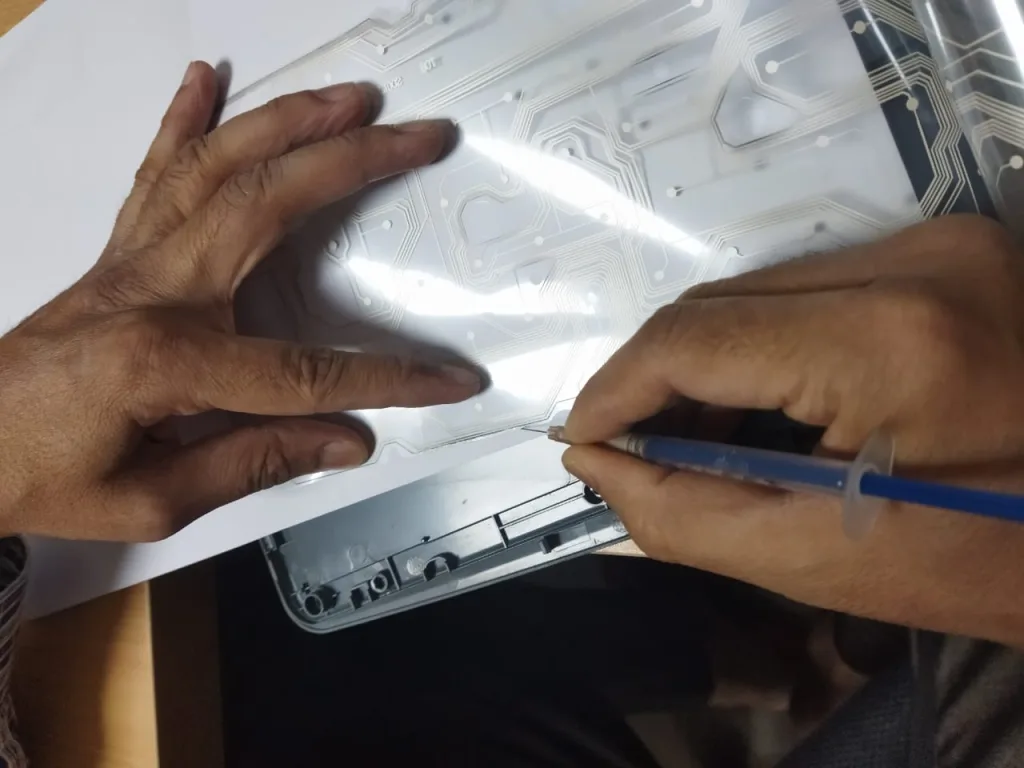
5. Let the paint dry: Silver conductive paint typically dries quickly, but it’s important to follow the manufacturer’s instructions for drying time. Some paints may take longer to cure for optimal conductivity.
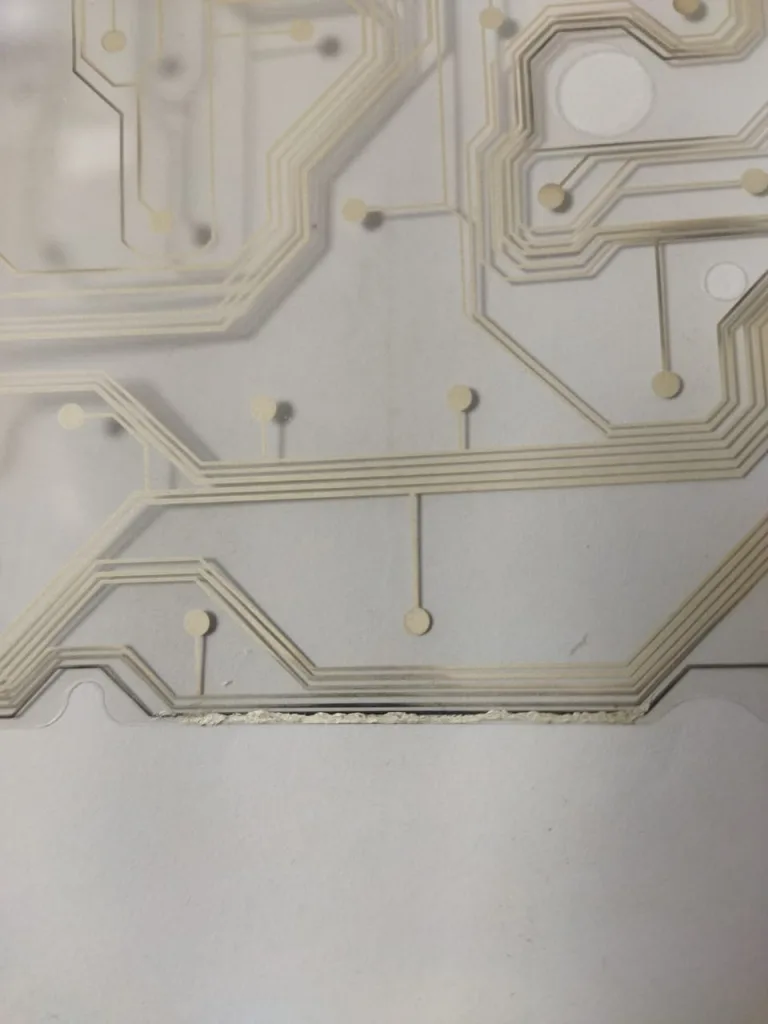
6. Test the connection: Once the paint is dry, reassemble the keyboard carefully. Plug the keyboard into your computer and test the previously non-working keys to ensure they are now functioning. I have repaired B key’s path, so B key is working now, so nice!
Tips for Success
- Use a fine-tipped applicator: Precision is key when applying conductive paint. A fine brush will help ensure that you don’t accidentally short-circuit nearby paths.
- Apply thin layers: It’s better to apply multiple thin coats rather than one thick layer. Thick layers may take longer to dry and could interfere with the functionality.
- Handle the keyboard membrane gently: The membrane is delicate, so avoid bending or applying too much pressure when working with it.
- Wear gloves if needed: To avoid contamination of the conductive areas, wearing gloves can help maintain a clean surface.
Conclusion
Using silver conductive paint for keyboard repair is a simple and cost-effective way to fix non-working keys caused by broken or damaged circuits. With the right tools and careful application, you can restore your keyboard to full functionality without needing to replace it. If you have a keyboard with non-responsive keys, consider giving silver conductive paint a try before opting for a full replacement.
Read More
- A Complete Guide to MAC Addresses: Definition, Function, and Uses
- Comprehensive Guide to the Types of Computer Networks: LAN, WAN, PAN, and More
- Understanding Network Cabling: A Beginner’s Guide to the Basics of Wiring Standards
- What is the Internet? Good and Bad uses of It in the 21st Century
- What is a computer? Definition, Inventor, and best uses of it in 2024
- The History of the Computer
- The Classification of a Computer in the 21st Century
- Making a Bootable Pendrive Without Any Software for Installing an Operating System
- Making a Partition in 6 Easy Steps on a Hard Disk
- Hiding a Partition of a Hard Disk for Data Security
- Binary Code Basics: How Computers Use 0s and 1s to Communicate
- Ultimate Guide to Boot Configuration Data (BCD Editor) Store Editor: How to Manage and Troubleshoot Boot Settings in Windows
FAQs
Q1: Why is my desktop keyboard not working?
Ans: Keyboards can stop working due to issues like loose or damaged cables, software glitches, driver problems, or liquid damage. Testing it on another computer or using a different USB port may help diagnose the issue.
Q2: Can I replace individual keys on my keyboard?
Ans: Yes, for most keyboards, individual keys can be replaced if the key cap or underlying mechanism is damaged. Replacement key kits are often available online.
Q3: How do I clean my keyboard if keys are sticky?
Ans: Remove the keycaps carefully and use compressed air to clear debris. For deeper cleaning, gently wipe with a damp cloth or use isopropyl alcohol on a cotton swab for sticky areas.
Q4: What do I do if my keyboard types the wrong characters?
Ans: This could be due to incorrect language settings. Check your computer’s keyboard settings to ensure it’s set to your preferred layout (e.g., US QWERTY).
Q5: Is it worth repairing a broken keyboard, or should I buy a new one?
Ans: It depends on the cost and type of keyboard. Mechanical keyboards are often worth repairing, but for inexpensive membrane keyboards, replacement might be more cost-effective.
Q6: What should I do if some keys don’t work?
Ans: Try cleaning under the non-working keys, as dust or debris may block them. If cleaning doesn’t help, the issue might be with the circuit. Silver conductive paint or replacing the keyboard’s membrane may fix it.
Q7: How can I fix a keyboard after a liquid spill?
Ans: Quickly disconnect the keyboard and let it dry upside down. Once dry, try using it again; if unresponsive, it may need professional repair, especially if liquid damaged internal circuits.
Q8: How do I fix a loose or unresponsive spacebar?
Ans: Carefully check the stabilizers (small metal or plastic pieces under the spacebar). If detached, reattach them. Sometimes, cleaning beneath can also help it function smoothly.
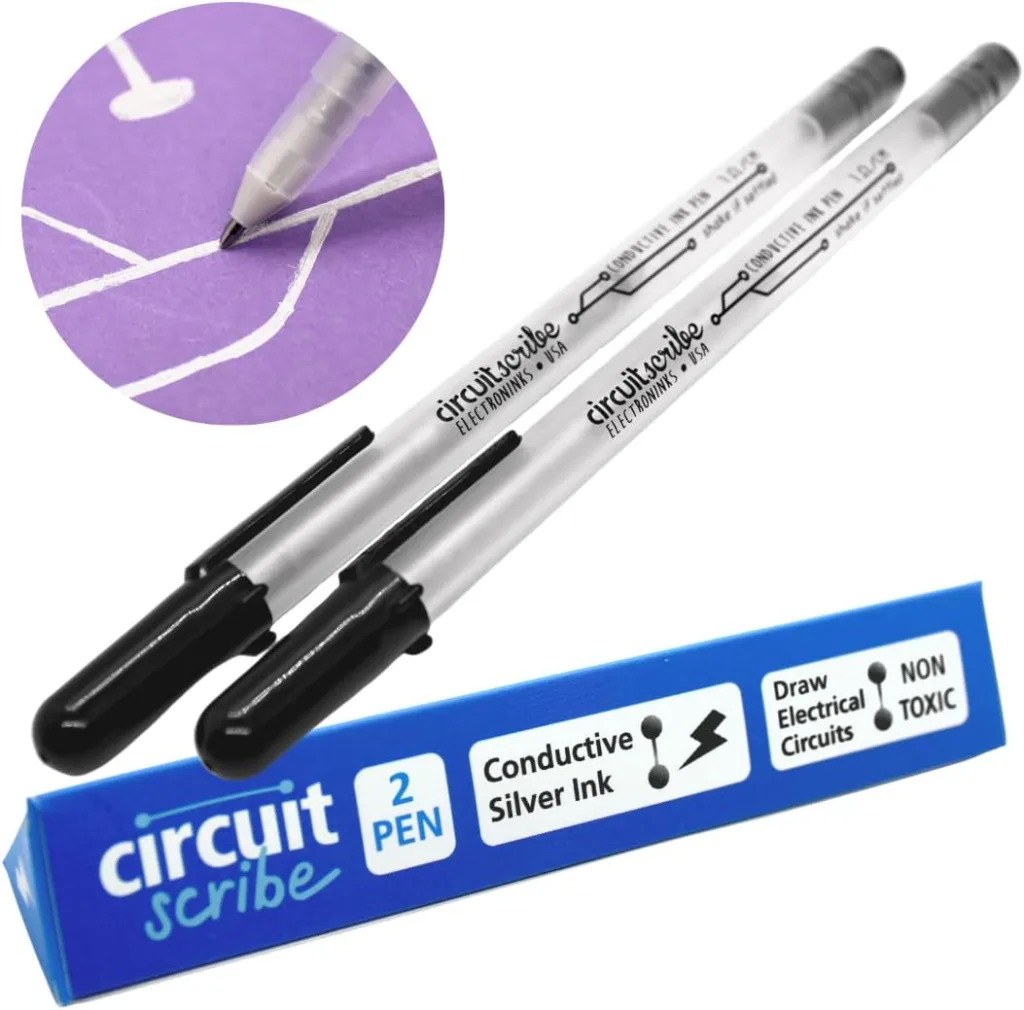
Best Silver Conductive Pen Purchase from Amazon




Leave a Reply